
Studio owners face the challenge of balancing time with their students with an overwhelming amount of administrative tasks. Staying on top of student records, filing, and general office duties is difficult and these tasks are often the first things pushed to the bottom of to-do lists.
However, it is important to realize that putting off these tasks can not only cause you stress, but can actually affect your bottom line. Inefficient filing and lost records can lead to lost revenue. Missed appointments due to ineffective calendaring can lead to an unprofessional image.
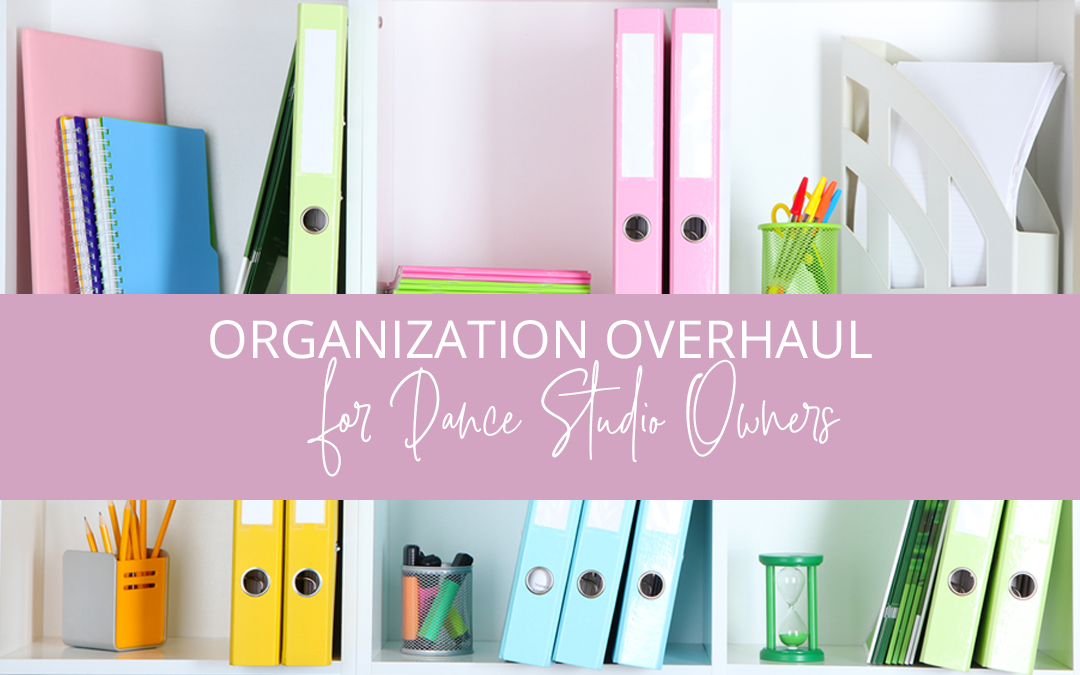
Here are a dozen ideas to get you started on your organizational overhaul. Remember, the key to getting organized – and staying organized – is finding a system that works best for you.
- Schedule time to organize. Just as you would schedule time in your calendar for important meetings, be sure to set time aside for organizational tasks. Pick some time each day or, at the very least, each week to tackle filing, mail, and to-do lists.
- Find a filing system that works for you and stick to it. With so many creative storage options available, you have your choice of filing cabinets, accordion files, and filing boxes. Filing Tip: When filing, break larger categories into smaller ones, i.e. Insurance… Liability, Health, Home, Car.
- Eliminate paper. Go paperless and automate. Use online studio management software for your registrations and invoicing. Put your monthly newsletter in pdf format, upload it to your website, and email it to your students. Convert monthly invoices to pdf and offer online statements to parents. Scan registration forms and keep them in a computer file.
- Use a tickler file and never miss a deadline or event again. A ticker system (or bring it forward file) is one of the best ways to eliminate clutter on your desk and keep you on top of your important to do items. Here’s how it works: You’ll need file folders labeled 1-31 (for the days of the month) or a ready-made system which you can purchase at any office supply store. Documents needing follow-up are filed in the corresponding day of the month. Here’s an example: You sort through your mail and find two items needing attention during the upcoming month. The first item is an invoice due on the 20th and the second is your tickets for an upcoming show on the 26th. Place the invoice in the slot label 13 (one week before the due date) and the tickets in the slot labeled 26. On the 13th of the month, you’ll pull out the invoice, write the check, and get it in the mail with plenty of time to spare. On the 26th of the month, you’ll pull out your tickets for the show and be ready for an evening out. Remember, the key to a successful tickler system is checking it every day!
- Clear out records on a yearly basis. During the summer months, clear out paper and computer records from the prior year. Use external storage devices to clear dated files off your computer and storage boxes to keep dated paper files.
- Sort mail immediately. Keep mail under control by sorting it immediately into categories and toss the junk mail. Use the tickler file mentioned above for your follow-up items and bills. Other mail will fall under categories such as “Filing” or “Catalogs.” Once sorted use desk organizers (See #10) to stay on top of your mail.
- Keep student records up-to-date. Keeping student records up to date with current phone numbers and addresses is crucial. In order to track down unpaid invoices and keep students up-to-date with important deadlines, your student database must be accurate. Collect email addresses during registration so you can send your newsletter or monthly statements via email and eliminate paper.
- Use only one calendar. Never miss an important date again! Whether you use a paper calendar, Microsoft Outlook, or an online calendar option (like Google or Cozi), be consistent and enter your appointments in one calendar. Need your calendar on the go? Syncing options are available so you can keep your calendar on your handheld for easy accessibility from the internet anytime.
- End magazine pile-ups. Free up valuable space by clipping your favorite articles and putting them in a file or scanning them to your computer. Pitch the bulky publications and have favorite articles at your fingertips for easy reference. Set up separate, clearly-labeled files for your articles so you can easily find what you need.
- Keep your desktop clean and neat by using organizing bins. Like your filing system, find something that works for you and stick to it. Use bins for incoming mail, high priority items, and filing. The key is to use them and go through them daily. Don’t let them become a dumping ground.
- Use binders. Binders are an excellent tool for organization. Binders allow you to keep important papers neatly stacked and easily accessible. Organize current student registration forms in a binder with tabs labeled A-Z. Use a binder for class schedules and enrollments broken down into days of the week and times of the day. You can even keep a binder for your takeout menus. Simply break a binder down into sections of food groups, i.e., Italian, Thai, pizza, etc.
- Outsource. Getting organized can be daunting, but you don’t have to do it all yourself. If you have an administrative staff or desk moms, utilize their talents to their full potential and keep them busy during downtime. Give them filing to organize and daily mail to sort. Have them create labels for file folders and organize papers into binders. If you don’t have an administrative staff, contact a virtual assistant to get you organized. They can easily sort papers or even create an effective filing system for you remotely from their home office.